

Audio Interfaces for Voice Actors
What they are, how they work, and how you can use them to get more gigs

Ask anyone who has spent the last decade pursuing a career in art, and they’ll tell you that gatekeeping is a serious issue when entering creative industries.
In the United States and other parts of the world, it’s been notoriously difficult to start a career in acting, filmmaking, or animation because of gatekeeping.
However, many of these barriers to entry have recently been eliminated:
Thanks to the COVID-19 pandemic, a great deal of the economy will increasingly rely on telecommuting and working from home. According to an article from TIME, this is a growing trend in many industries, thanks in large part to technological advances to come out of the Fourth Industrial Revolution.

This means that a lot of longstanding industries are going to change in order to adapt with the times— and voiceover work is one of them!
It’s becoming much easier for you to start a career in professional voice acting or voiceover work. You don’t have to move out of state, you don’t have to rent a studio, and you don’t need to know anybody. Historically speaking, this is the best possible time and place to achieve a career in voiceover!
Note that these things may change in the future — you may need to move or get in touch with an agent — but it’s definitely no longer the case if you’re trying to get your foot in the door.
Instead, all you need is talent, availability, and equipment. To learn more about those first two, check out some of the interviews and blog posts on our website.
For now, let’s discuss one of the most confusing (and important) pieces of audio equipment you need: an interface.
What is an audio interface?
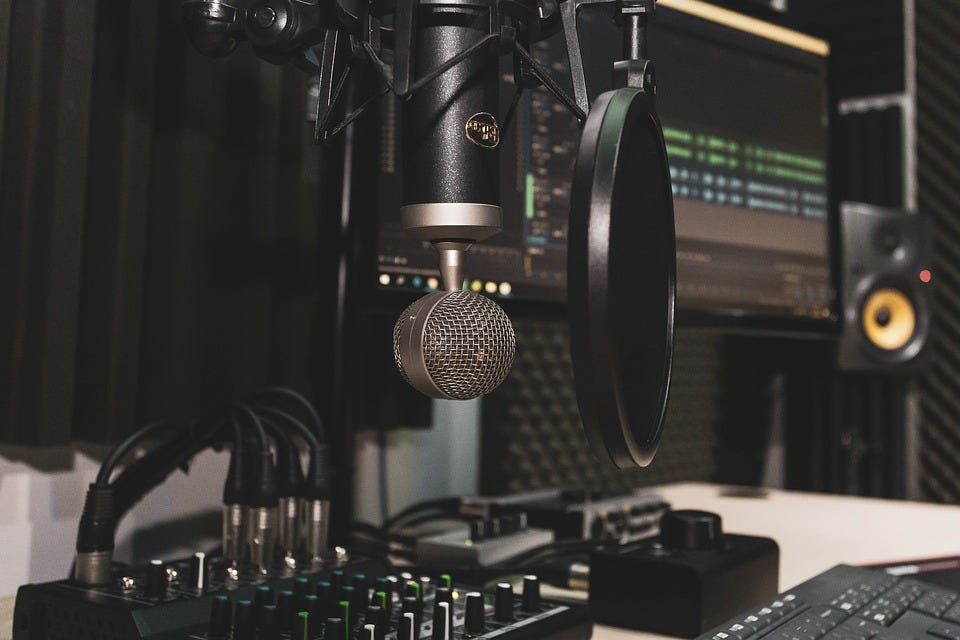
When most people hear the words “audio interface,” this is the kind of image that pops into their heads:

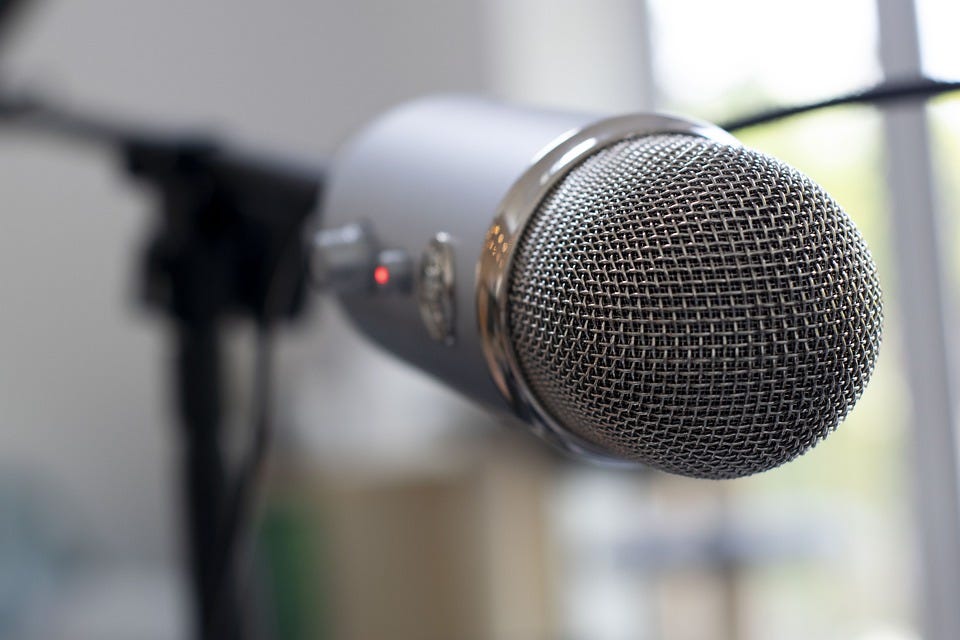
But if you’re just looking for an audio interface for home voice acting, you only need something that looks like this:

Looks a lot less complicated, right? Essentially, this device needs to fulfill two functions: convert the signal from your XLR microphone into an audio file, and let you monitor your sound so you can adjust it for better recordings.
You can read our review of the Focusrite Scarlett Solo and listen to some recording tests in order to get a better idea of how this machine works.
I don’t want to deal with an audio interface!
If you’re the kind of person who likes to build their own computer, a simple audio interface shouldn’t be too intimidating. But if you don’t have any tech experience and just want to start making money with your voice, even this stripped-down device can be intimidating.
So intimidating, in fact, that many would-be professionals attempt to avoid using these interfaces at all by getting a microphone with a basic USB plug. These are a dime a dozen on Amazon, but by far the most popular USB mic model is the Blue Yeti.
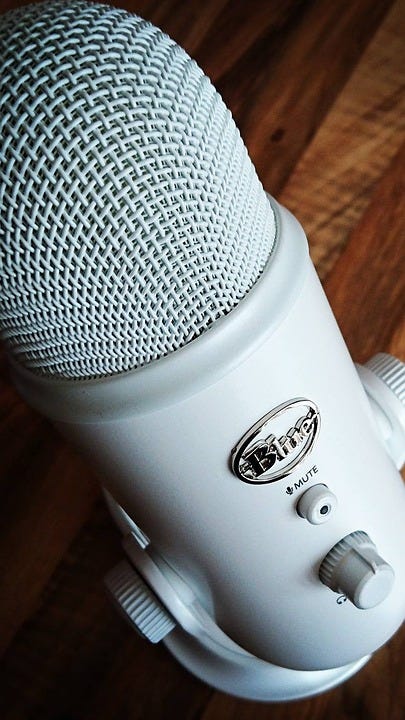
Looks pretty impressive, right? It definitely appears more professional than most USB mics you’d find online— and it delivers better sound.
But if you decide to use something like this instead of learning how to use an audio interface, you’re sacrificing long-term career gains for a short-term solution.
Let’s do a quick comparison of two scenarios, A and B:
Scenario A: USB microphone
In scenario A, you pick up a Blue Yeti. Depending on the model and whether you buy it new or used, you spend between $80 and $260.
With this mic, you’re able to record a great-sounding demo reel— one so good, people want to work with you on some passion projects and hobby work. Maybe an indie game dev hears your reel and wants to hire you to voice a few lines for an NPC.
From there, you start to look at career advancement opportunities. Can you start applying for gigs with AAA game studios, shows on Netflix, or localization for an anime?
Not with your USB microphone! The audio engineers would have to put extra work in the editing room just to make your recordings good enough to match the other performers.
You could maybe rent a studio to record your lines, but that’s not cheap. Neither is moving to one of the major hubs for acting work: California, New York, and Texas. Unfortunately, the cheapest way to enhance your setup would be to sell your Yeti, get back $80, and put it towards a high-end studio setup.
Now let’s look at Scenario B:
Scenario B: XLR microphone & audio interface
In scenario B, you do some research into voice acting audio equipment, looking for an affordable setup to get started.
You read about how one of the most affordable and popular microphones for live performances — the Shure SM58 — has the ability to bring out the low end of your voice via its proximity effect. This can sound pretty decent when paired with the Focusrite Scarlett Solo, an equally affordable interface that produces clean gain.
You decide to buy both the mic and interface. Again, the price can vary depending on whether you buy them new or used, but you end up spending between $110 and $220.
By learning how to use these devices, you create a decent demo reel that attracts some attention. With the money you make, you’re able to sell your SM58 and get an Audio Technica AT2020. Then after a few more good gigs, you replace the Scarlett with something like a MOTU M2.
You save money as you resell your old equipment to get new stuff, and you improve your talent stack by learning more about sales and audio production.
When you become a big enough fish to leave your small pond, you start to try out for roles in big productions. You’ll still experience a lot of rejection, but eventually you’ll land your big break. Even if they want you to improve your setup, you can easily do this with all the knowledge you’ve gained along the way.
Which scenario sounds better? I’d take scenario B any day!
Thanks for reading. Be sure to follow us on Twitter to know when we publish new reviews, blog posts, and interviews.